Skip to main content
-
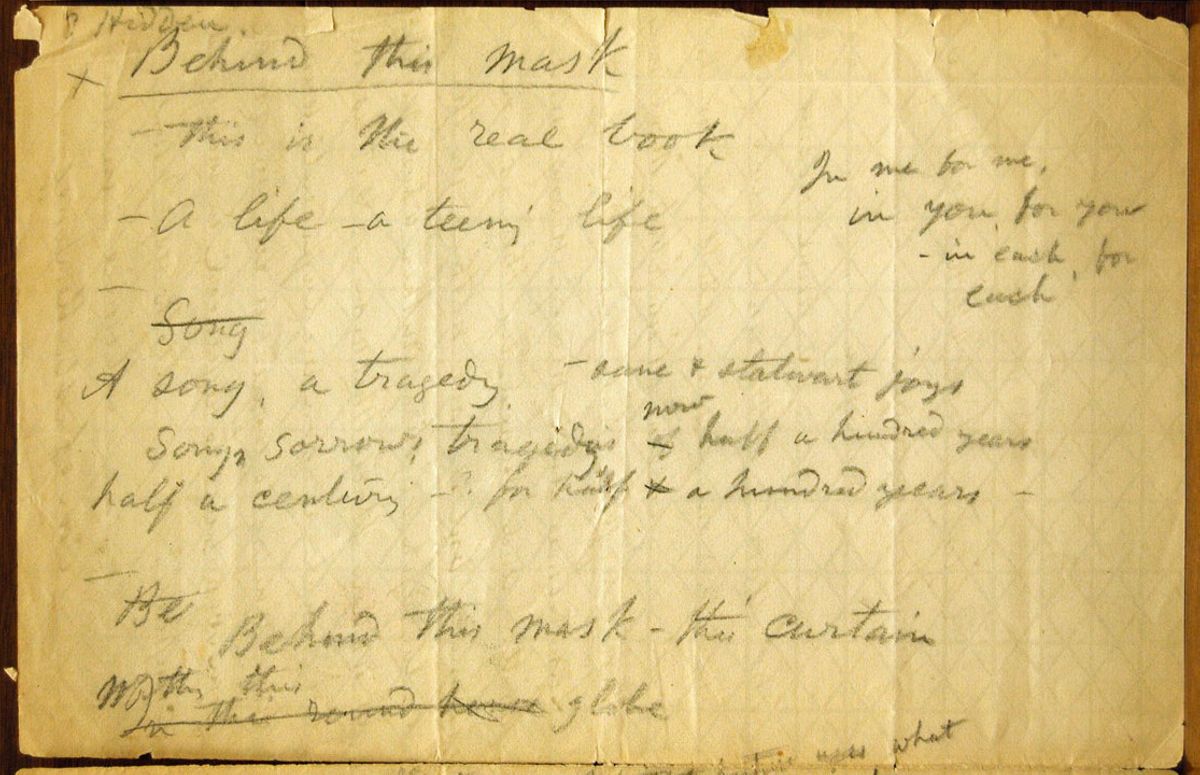
Whitman Archive Title: Behind this Mask
-
Whitman Archive ID: loc.00251
-
Repository: Catalog of the Walt Whitman Literary Manuscripts in The Charles E. Feinberg Collection of the Papers of Walt Whitman, 1839-1919, Library of Congress, Washington, DC.
-
Box: 28
-
Folder: Out from Behind This Mask (1876). A.MS. draft.
-
Series: Literary File
-
Date: between 1873-1876
-
Genre: poetry
-
Physical Description: 2 leaves, handwritten
-
View Images:
1
|
2
|
3
|
4
-
Content:
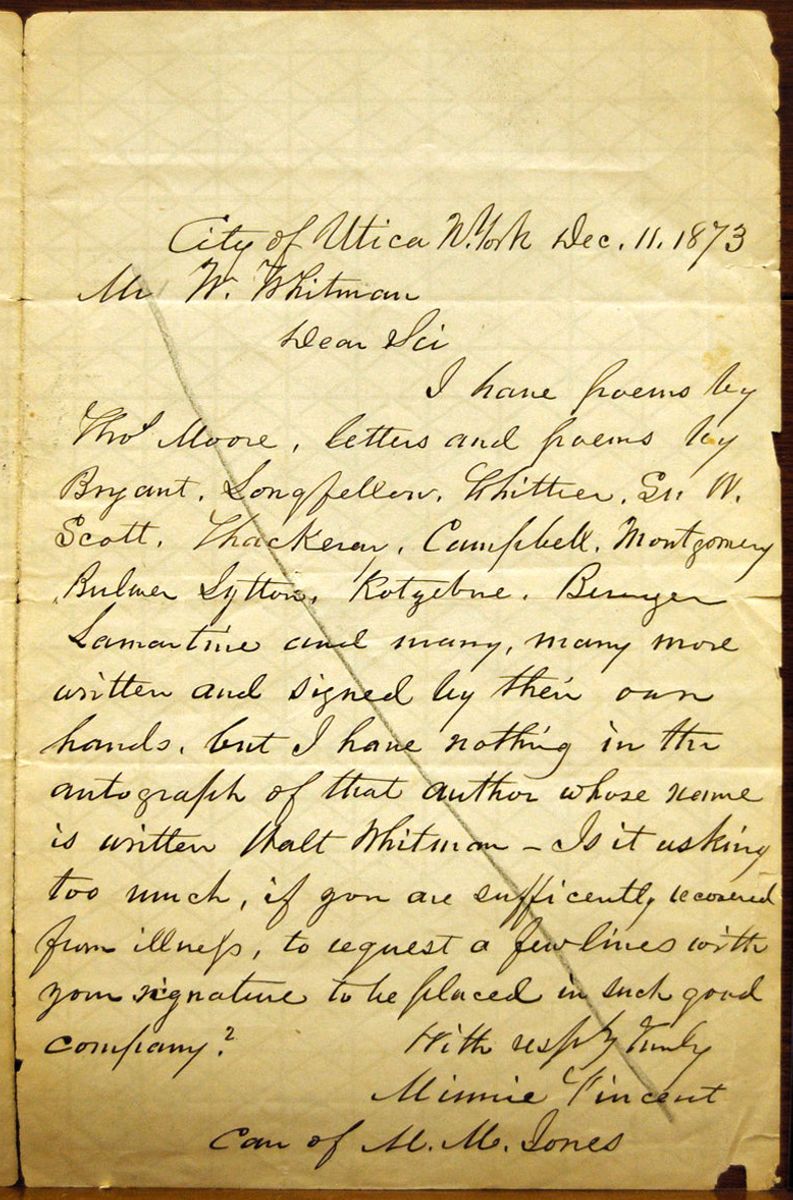
Notes and trial lines for the poem "Out From Behind This Mask," first published
in 1876, written on the verso of a letter to Whitman from
Minnie Vincent, dated Utica, New York, December 11, 1873, asking for
an autograph).
View All Works